Forget the frozen aisle. You don’t need a Neapolitan oven or thirty years of experience. You just need warm water, flour, and enough patience to wait two hours.
The myth persists that making homemade pizza crust from scratch is a weekend project reserved for culinary nerds. It’s not. It’s a ten-minute prep job followed by waiting. The result? A crust that snaps when you bite it, yet stays chewy enough to hold sauce without turning into a soggy mess.
Why bother? Store-bought dough tastes like wet cardboard. This tastes like bread that actually knows what yeast is.
Why This Specific Pizza Dough Method Works
The chemistry here is simple but unforgiving. If you rush it, you get dense bricks. If you respect the rise, you get airy, blistered perfection.
The magic starts with blooming. You sprinkle sugar and active dry yeast into warm water. Wait ten minutes. Watch for bubbles. That’s the yeast saying, “I’m alive, let’s bake.”
Once that’s done, you mix it with seven cups of all-purpose flour and salt. Knead it. Not for five minutes. For ten to fifteen. Your arms will burn. It’s worth it. The gluten network needs to form. You’re looking for soft, smooth, bouncy. If it’s sticky, keep going.
Then comes the hard part: doing nothing.
Grease a bowl. Drop the dough in. Cover it. Let it rise for at least an hour. Preferably twenty-four hours if you have the self-control. Cold fermentation in the fridge develops flavor compounds that heat alone can’t create. But if you’re hungry, room temp for an hour works in a pinch.
How to Shape the Perfect Thin Crust
When you’re ready, punch the dough down. Don’t be gentle. Deflate those bubbles. Cut it into four pieces. Shape them into rounds.
Let them rest again. Thirty minutes. This relaxes the gluten. If you skip this, the dough fights back. It shrinks. It snaps back to a ball every time you try to stretch it. You want it compliant.
Preheat your oven. Crank it. Max setting. 450 to 500°F. Place a pizza stone, cast iron skillet, or an upside-down baking sheet inside. Yes, upside down. You need the flat bottom of a heavy sheet to mimic stone.
While the oven roasts the interior of your kitchen, make the sauce. Canned whole tomatoes. Salt. Blend until smooth. That’s it. No cooked marinara. Raw, bright, acidic. It cuts through the fat.
Toppings That Don’t Ruin the Structural Integrity
Here’s where people mess up. They overload the pie.
The goal is balance. Too much sauce makes it soupy. Too much cheese weighs it down, preventing the crust from crisping.
Try the classic Margherita. Light smear of that raw tomato sauce. Fresh mozzarella, torn into chunks. Not shredded. Shredded mozzarella melts into a plastic sheet. Torn pieces melt into gooey pockets. Finish with basil and olive oil.
Or go Bianca. No tomato sauce. Use pesto or ricotta. Garlic. Herbs. It’s rich, but the absence of wet tomato keeps the crust drier, crispier.
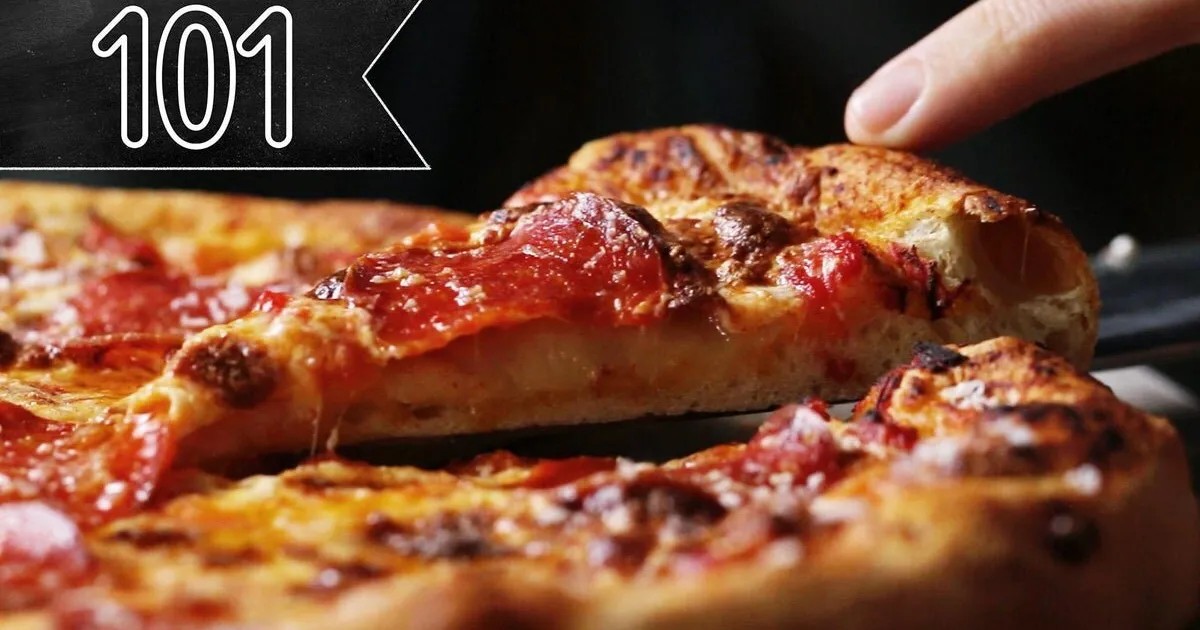
Or just Pepperoni. The spicy kind. It cups up and pools grease. Delicious grease. Add parmesan.
Sprinkle semolina flour on your baking surface before sliding the dough on. This is the grit under the tire. It prevents sticking and adds crunch. Slide it onto the hot stone.
Bake for fifteen minutes.
The Verdict on Effort Versus Reward
You spend ten minutes mixing. Ten minutes kneading. An hour or two waiting. Fifteen minutes baking.
The nutrition info varies wildly depending on how much cheese you murder onto that pie. A basic slice runs around 267 calories, mostly from the carbs in the flour and the fat in the oil. A loaded slice hits 1691 calories for the whole pie. Eat it responsibly. Or don’t. You made it. You deserve it.
The crust pulls away from the pan with a sound like tearing parchment. Golden brown. Maybe a few charred spots. Those spots taste like smoke and fire and success.
You’ll never buy frozen dough again. Why would you?
The difference isn’t skill. It’s time.
Next time you’re craving pizza, don’t open the app. Open a bag of flour.