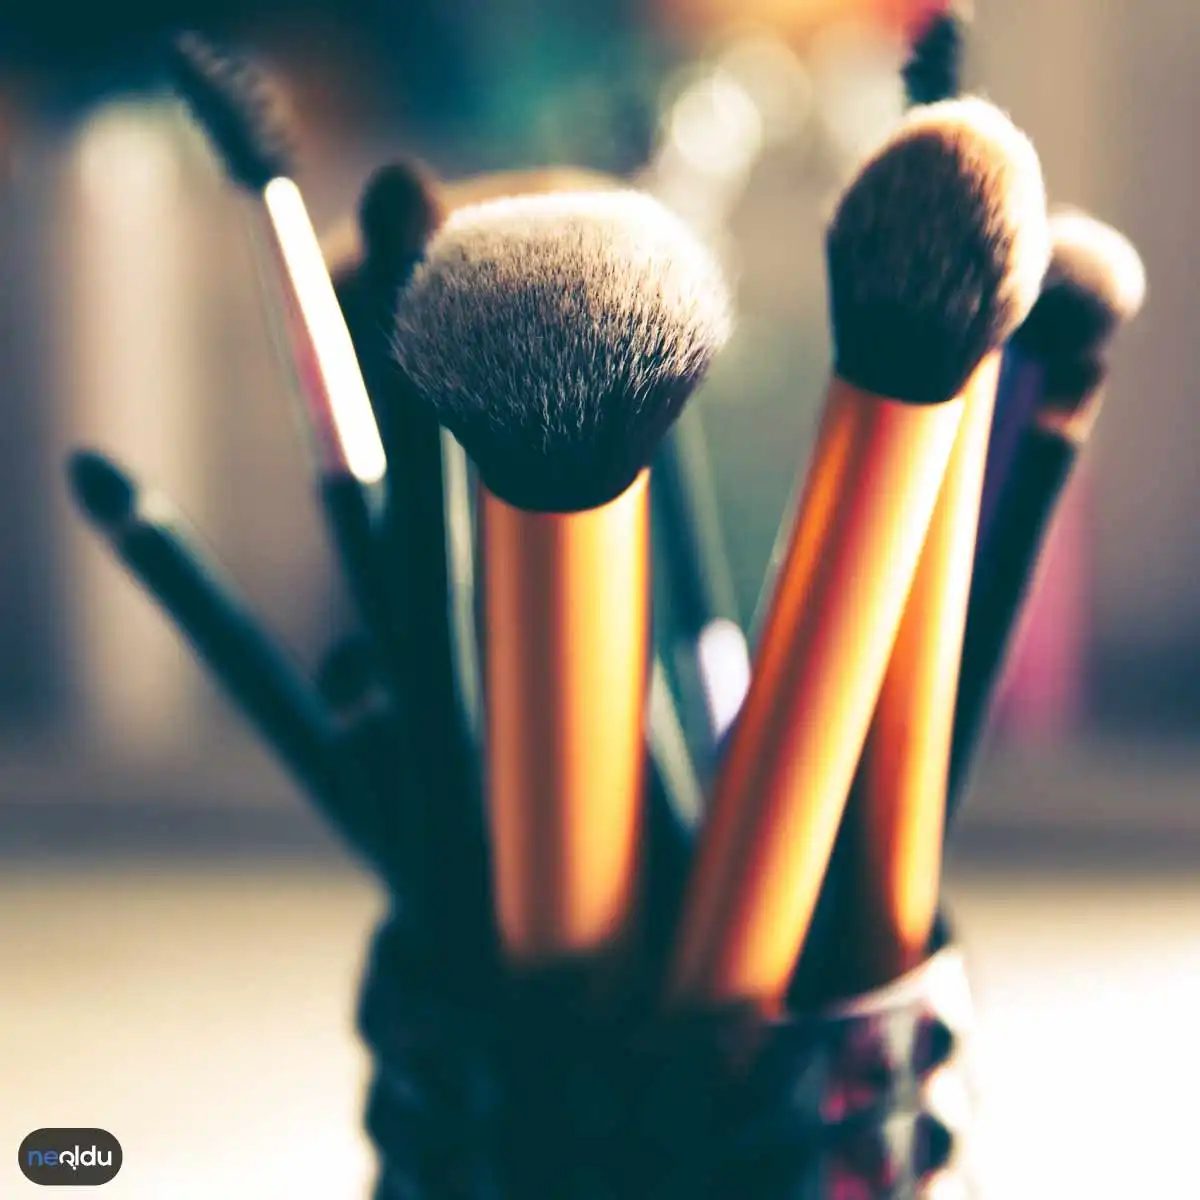
Makeup brushes are the unsung heroes of a flawless look. They’re also arguably the dirtiest things you keep in your bathroom cabinet.
Think about it. We use them every single day. Foundation. Blush. Eyeshadow. Powder. Concealer. Eyeliner. Lipstick. Each application transfers skin cells, natural oils, sweat, and dead skin off your face and into the bristles. Left alone, that mixture becomes a breeding ground.
Bacteria thrive in that warm, moist environment. The longer you go without cleaning, the more product builds up. Clogged pores. Breakouts. Irritation. It’s not just about looking good. It’s about not inviting a microbial party to your face.
“We use our brushes daily, and they get filthy fast. Ignoring this turns a beauty tool into a hygiene hazard.”
The Daily Grime
Most people think rinsing a brush under water is enough. It isn’t.
Water removes loose pigment. It doesn’t remove the caked-on residue deep inside the ferrule (that metal part that holds the bristles). And it certainly doesn’t kill bacteria.
You need a proper routine. Not because you’re being dramatic, but because your skin barrier is sensitive. Oily skin types might need to wash brushes weekly. Dry or sensitive skin might need even more frequent attention to avoid irritation from old, rancid product buildup.
How to Clean Brushes Without Ruining Them
You don’t need expensive brush cleansers. You need soap. Mild, gentle soap. Baby shampoo works. Castile soap works. Even a bit of dish soap can cut through the oil, provided you rinse thoroughly.
Here is the no-nonsense method:
- Wet the bristles. Keep the water lukewarm. Hot water damages the glue holding the hairs together.
- Apply soap. Swirl the brush in your palm or a silicone cleaning mat. Don’t soak the ferrule. Water getting into the glue weakens it, causing shedding.
- Swirl and press. Press the bristles against the side of your sink or a textured mat. This forces the gunk out.
- Rinse. Run until the water runs completely clear. No suds. No cloudiness.
- Squeeze and reshape. Gently press out excess water. Reshape the tip.
- Lay flat. Never stand brushes upright in a cup while wet. Gravity pulls water down into the ferrule. Lay them flat on a towel near a window or fan. Airflow is your friend.
Frequency Matters
How often should you do this?
- Liquid products (foundation, concealer, cream blush): Once a week. These harbor bacteria fastest.
- Powder products (eyeshadow, blush, bronzer): Once every two weeks. They don’t hold moisture as well, so bacteria grow slower.
- Eye brushes: Twice a week. The eye area is sensitive. Infection risk is real.
The Lazy Alternative
If you’re like most people, you’ll skip the deep clean. That’s fine. But you can mitigate the damage.
Use disposable sponge applicators for cream products
Fırçalarınızı yıkamak sadece malzeme ömrünü uzatmakla kalmaz. Cildin sağlığı için de şart.
Her gün sürdüğün fondöten, pudra ve allık, kıl arasında hapsolur. Yağ. Kir. Ölü deri. Bunlar birikir. Ve burada nemli, sıcak bir ortam yaratırsın. Bakteri üremeye başlar.
Cildin buna karşı koymaz. Enfeksiyon riski artar. Akne sıçrayabilir. Rahatsız edici, değil mi?
Ayrıca ürünlerin performansı düşer. Kirli fırça, fondötenin eşit yayılmasını engeller. Renkler bulanıklaşır. Kontur netliği kaybolur. Daha doğal, pürüzsüz bir sonuç hayal ediyorsun. Ama kirlilik buna izin vermez.
Temizlik düzeni kuralı basit: Haftada bir. En geç iki haftada bir.
Bu rutin, cildindeki bakteri yükünü sıfırlar. Ürünlerin taze gibi davranmasını sağlar. Cildin daha az hassas hale gelir.
Temizlik için gereken malzemeler
Her şey evde zaten var. Profesyonel ürünler satın almana gerek yok. Doğru yöntemle evdeki malzemeler de yeterlidir.
- Yumuşak bir temizleyici: Sıvı sabun veya özel fırca temizleme jeli. Hassas ciltler için fragrancesiz olanları tercih et.
- Ilık su: Çok sıcak su kıl yapısını bozar. Çok soğuk su ise yağı yeterince çözmeyebilir. Ilık olan idealdir.
- Temiz bir havlu: Mikrofiber kumaşlar suyu daha iyi emer. Pamuklu da iş görür.
- Yayma yüzeyi: Düz, pürüzsüz bir yüzey. Bazen temiz bir tabak veya avuç içi kullanılır.
Bu basit malzemelerle hijyenik bir fırça setine sahip olabilirsin. Sıradaki adım, bu malzemeleri doğru şekilde kullanmak.
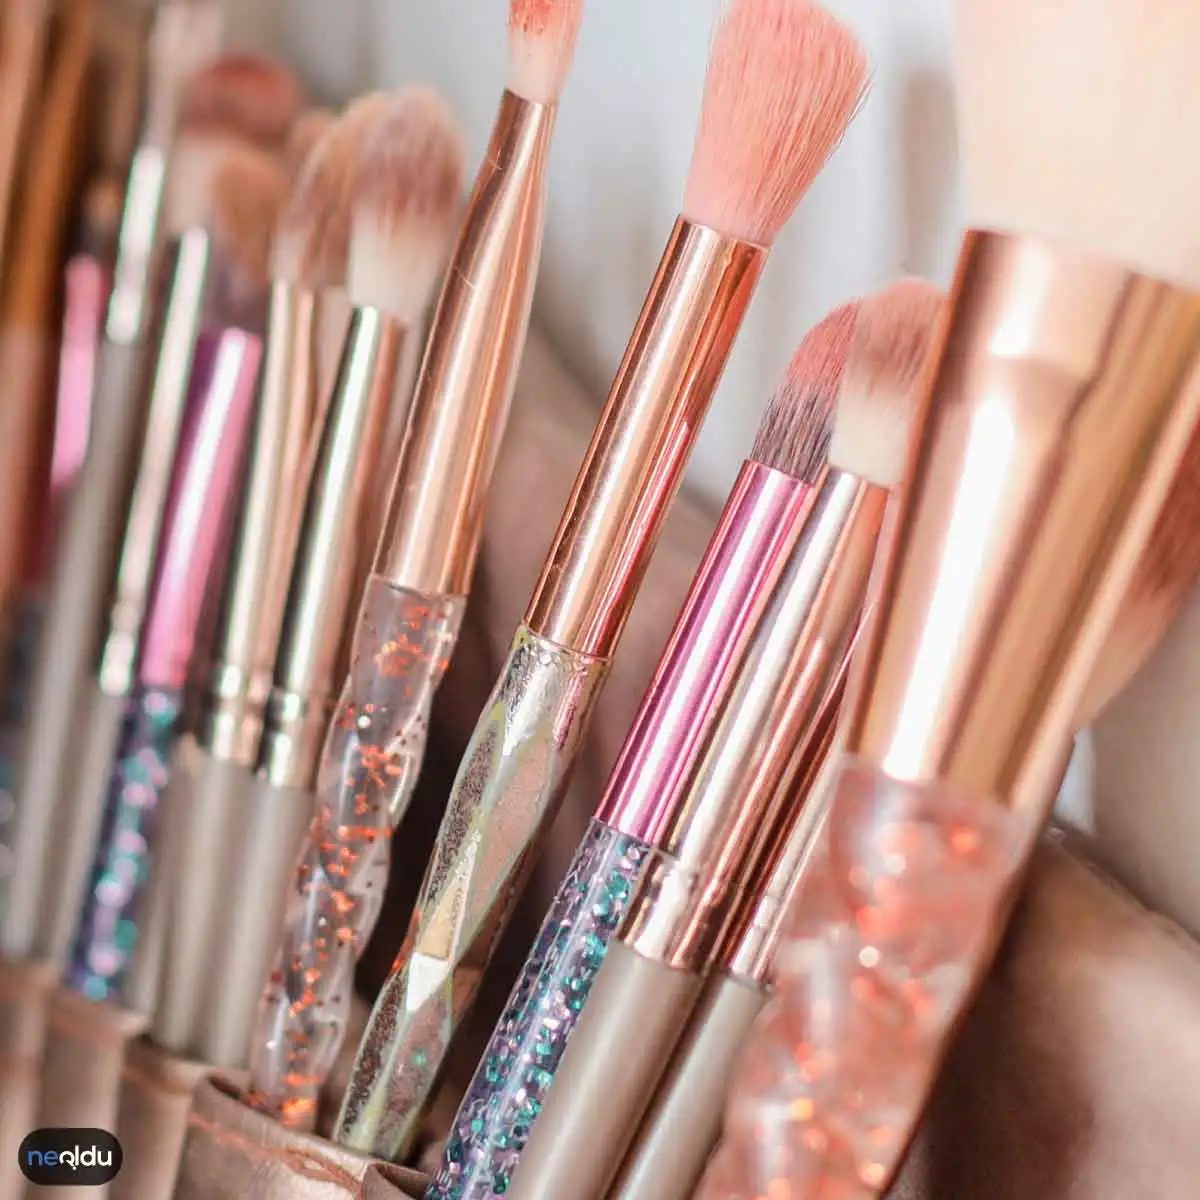
Çoğu evde zaten dolapta duran basit malzemelerle fırçalarınızı hijyenik hale getirebilirsiniz. Karmaşık ürünler aramanıza gerek yok. Sadece doğru teknikleri bilmek yeterli.
Fırça Temizleyici Kullanmanın Avantajları
Piyasada satılan özel temizleyiciler, kıl yapısını bozmadan derinlemesine arındırır. Bu ürünler sentetik ve doğal telleri korurken bakterileri uzaklaştırır. Düzenli kullanımı fırça ömrünü uzatır.
Bebek Şampuanı: Nazik ve Etkili
Bebek şampuanı, hassas ciltler için formüle edildiği için fırça kılına da zarar vermez. Sadece temizlemekle kalmaz, aynı zamanda zararlı maddeleri de yok eder. Fırçalarınızı yumuşak tutmak için ideal bir seçenektir.
Zeytinyağı ile Nemlendirme ve Temizlik
Sadece temizlemekle kalmaz, aynı zamanda doğal kıl yapısını nemlendirir. Kalıntıları çözerken kırılganlığı önler. Doğal bir alternatif arayanlar için pratik bir çözümdür.
Sirke: Doğal Bir Dezenfektan
Sirke, bakterileri ortadan kaldırırken kıl yapısını da temizler. Hijyenik bir kullanım sağlar. Doğal antimikrobiyal özellikleri sayesinde fırçalarınızı uzun süre taze tutar.
Su Kullanımı: Ilık Tercih Edin
Sıcak su, fırça yapısını bozar. Kıl ve telleri zarar verebilir. Ilık su, temizlik için en güvenli seçenektir. Fırçalarınızı yıkarken bu kurala mutlaka dikkat edin.
Makyaj Fırçaları Nasıl Temizlenir?
Fırçalarınızı temizlerken dikkat etmeniz gereken birkaç adım var. Öncelikle fırçaları ıslatın. Şampuanı veya temizleyiciyi kıl köklerine uygulayın. Dairesel hareketlerle nazikçe temizleyin. Sonra temiz suyla durulayın. Kurutma işlemi için fırçaları baş aşağı asabilirsiniz. Bu şekilde su kıl köklerine sızmaz. Fırçalarınızı düzenli olarak temizlemek, cildiniz için de, ürünlerinizin verimliliği için de önemli.
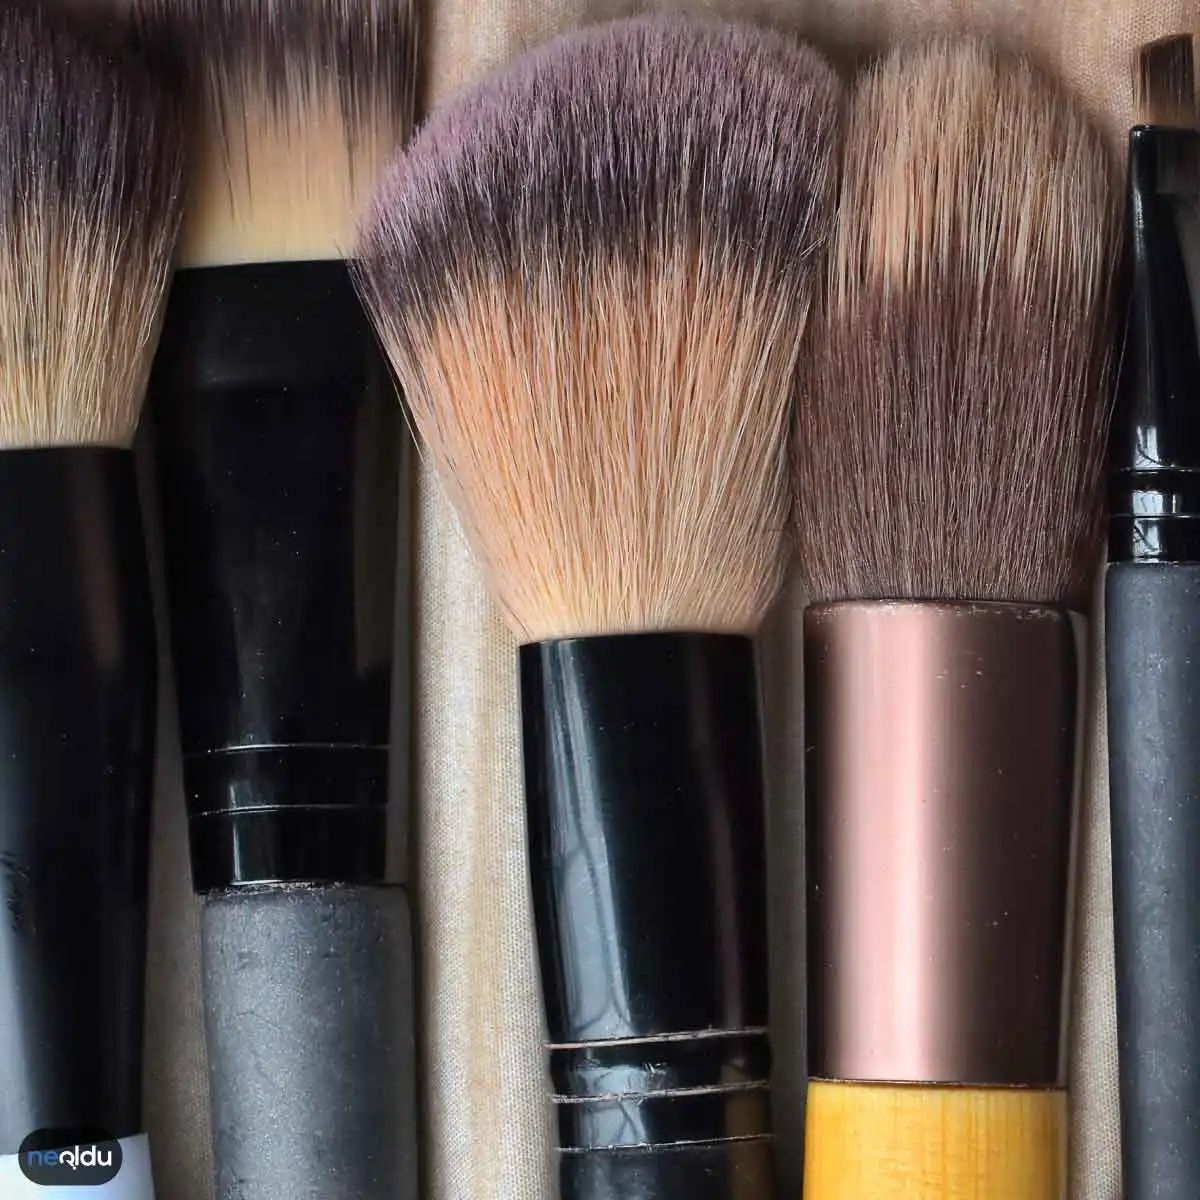
Dirty makeup brushes do more than just waste product. They become breeding grounds for bacteria, leading to breakouts and dull, uneven application. If you’re skipping the scrub, your foundation looks cakey. Your skin suffers. It’s time to reset.
Cleaning isn’t just about hygiene. It’s about extending the life of your tools. Whether you use natural bristles or synthetic fibers, neglecting them shortens their lifespan and compromises your look. Here is the practical, no-nonsense way to clean your tools without damaging them.
Prep Your Station
Start simple. You don’t need expensive gadgets. A clean bowl, lukewarm water, and a gentle cleanser will do the job.
“Dirty brushes apply bacteria back onto your face. Clean brushes let your product sit properly.”
Options include a dedicated brush cleanser, mild baby shampoo, or even a mix of olive oil and vinegar for deep conditioning. Pick what you have on hand. Consistency matters more than the specific product.
Dampen, Don’t Soak
Hold the brush under lukewarm water. Wet only the bristles. Avoid getting water into the ferrule—the metal part that connects the bristles to the handle.
Why? Water trapped inside loosens the glue. Once the glue fails, the bristles shed, and the brush is trash. Be gentle. Swirl the tips in the water to loosen surface makeup before adding soap.
Apply the Cleanser
Pour a small amount of your chosen cleanser into a shallow dish or mix it with water in your bowl. Swirl the brush in the solution.
Use your palm or a silicone cleaning mat to work the suds through the bristles. This friction lifts the pigment and oils trapped deep inside. Don’t just dip and rinse. You need to agitate the bristles to get them truly clean.
Rinse until the water runs clear. If it’s still cloudy, you haven’t finished. Residue causes stiff bristles and potential irritation.
Dry with Intention
Water is the enemy of structure. Once rinsed, squeeze excess water out with a clean towel. Roll the brush gently in the towel to absorb moisture.
Never let brushes dry standing up. Gravity pulls water down into the ferrule, causing the glue to dissolve and the handle to warp. Lay them flat on a towel with the bristles hanging off the edge. This ensures air circulation and protects the shape.
Store with Purpose
Once completely dry, store them in a way that protects the tips. A brush roll, a cup, or a dedicated drawer works. Just keep them covered from dust.
Most Used Makeup Brushes: Which Ones Need the Most Attention?
Not all brushes get dirty at the same rate. Foundation and concealer brushes accumulate product faster than powder brushes.
- Foundation brushes: These touch the skin directly. They need weekly cleaning. Oil and sweat build up quickly.
- Concealer brushes: High pigment. Hard to rinse out. Spot clean between uses if possible.
- Powder brushes: Less frequent use means less frequent washing. Bi-weekly is usually enough.
- Eye brushes: Delicate. Use a milder cleanser to avoid irritating the eye area.
Replace brushes that are shedding, stiff, or misshapen no matter how clean you keep them. A worn-out brush won’t give you a smooth finish. It’s better to invest in fewer, high-quality brushes and maintain them properly than to hoard a drawer full of neglected tools.
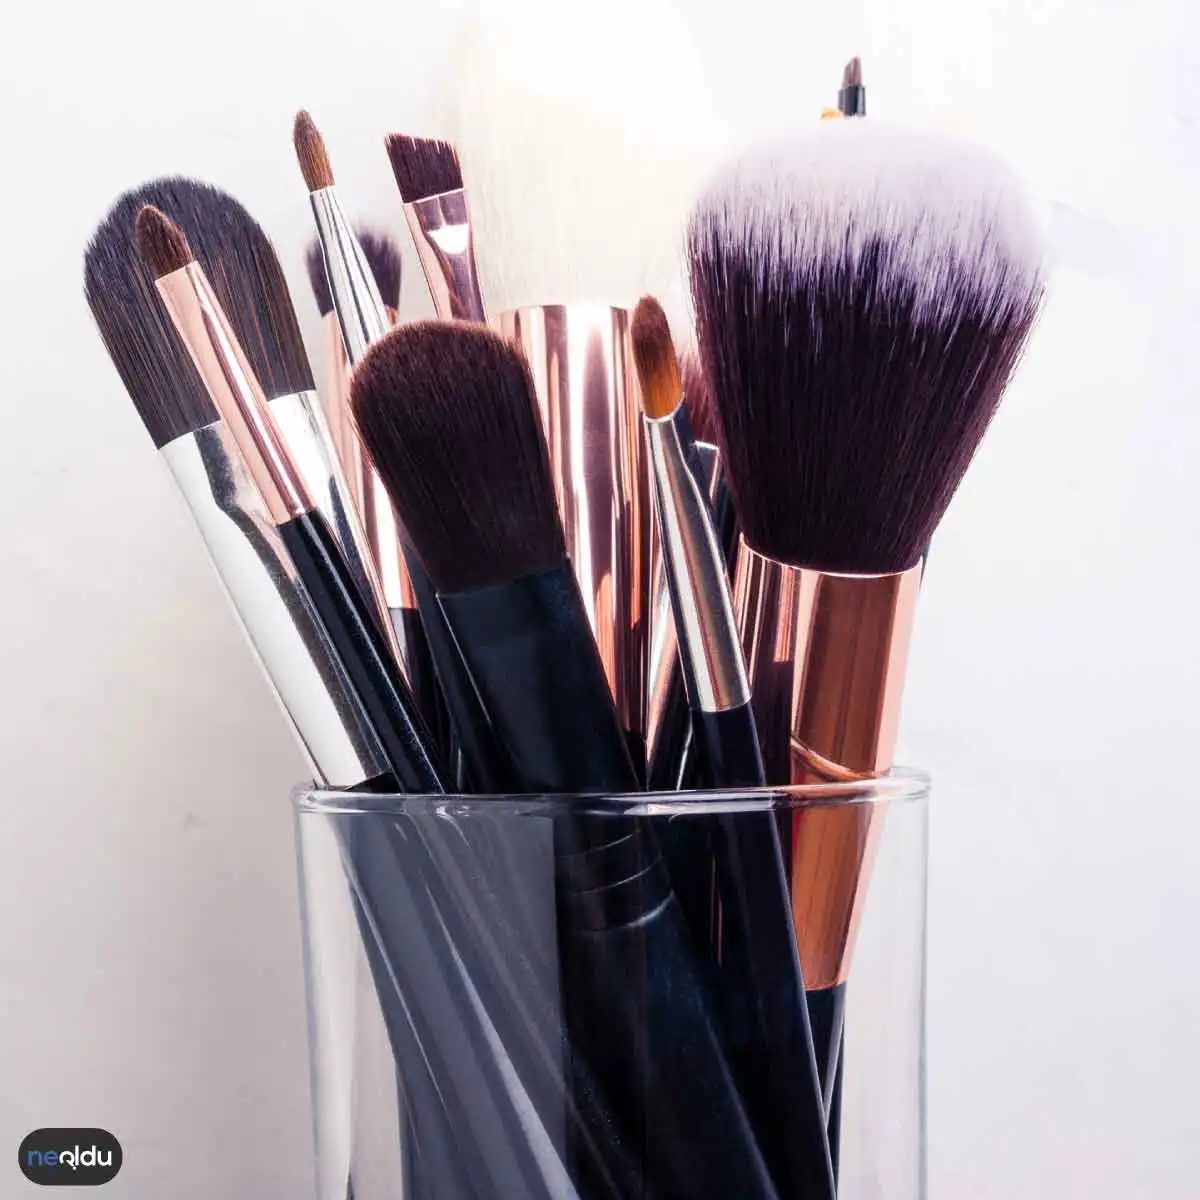
We all know the drill. The makeup brush is practically glued to our hands most days. It’s one of those non-negotiable tools we can’t live without. But let’s be honest about the washing part. Laziness wins sometimes. We tell ourselves “just one more night.” The problem? That delay. If you don’t wash your brushes regularly, you’re essentially painting bacteria, dead skin cells, and old product back onto your face. Acne and breakouts aren’t just bad luck; they’re often a direct result of dirty tools.
Here is the breakdown of the brushes you use most often and why they need the most attention.
Foundation Brush
This is arguably the most important brush in your kit. You’re applying a liquid or cream base, right? That means you’re introducing moisture and heavy pigments directly into the bristles. Over time, this buildup creates a breeding ground for bacteria.
“If you’re seeing breakouts along your jawline or cheeks where you apply foundation, your brush might be the culprit.”
A foundation brush typically has densely packed bristles to ensure a smooth, even application. This density is exactly what traps product. When you skip cleaning it, that product hardens between the hairs. The next day, you’re not getting a fresh coat of makeup; you’re dragging yesterday’s residue across your face.
Why does this matter for your skin health? Because foundation brushes are in constant contact with your entire face. Unlike a small eyeshadow brush, which stays in one corner, the foundation brush travels from your forehead down to your chin. Any bacteria on those bristles get spread everywhere.
How often should you clean it? Ideally, after every use. Practically? At least once a week for daily users. If you use it less frequently, give it a quick rinse after three uses. You don’t need to strip the bristles every time, but a thorough wash with a gentle brush cleaner or mild soap is necessary to prevent clogged pores.
Look for brushes with synthetic fibers if you’re using liquid products. Natural hair brushes are better for powders. Synthetic brushes are non-porous, meaning they don’t absorb the product as deeply, making them easier to clean and less likely to harbor bacteria if maintained properly. But even synthetic brushes need to be cleaned. Don’t let the ease of cleaning fool you into neglecting the task. Your skin will thank you.
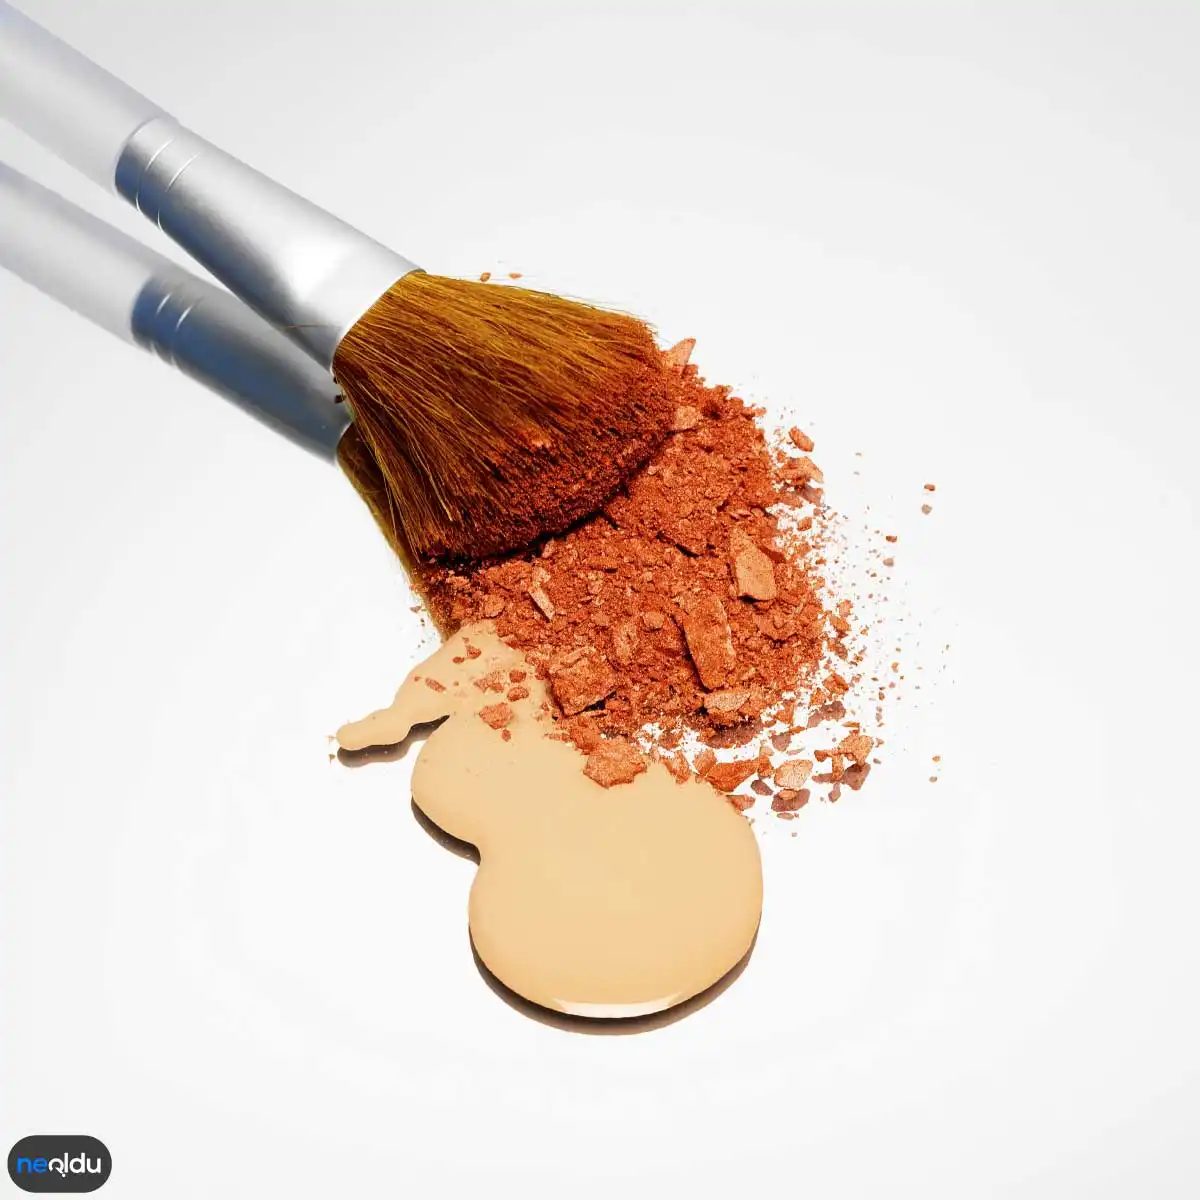
The Foundation Brush: Why Hands Are the Enemy
Let’s get one thing straight. If you’re still applying liquid foundation with your fingers, you’re fighting a losing battle. We’ve all been there. The urgency of the morning rush. The need to blend fast. But here is the hard truth: your hands are dirty. Even if you just washed them, they carry oils and bacteria that no amount of quick rubbing can truly banish.
Using a foundation brush isn’t just a preference. It’s a hygiene move.
When you use your fingers, you’re pressing product into the skin. You’re pushing pores shut and potentially introducing grime. A brush, on the other hand, lays the product down. It buffs it out. The result is a finish that looks like skin, not like a mask of oil and powder stuck together.
Think about the texture. Finger application tends to be streaky unless you are incredibly practiced. Brush strokes can be invisible if you know the right angle. The bristles grab the product and distribute it evenly across the face. You get coverage where you need it. Sheer where you don’t.
This isn’t about being fancy. It’s about efficiency. Wiping a brush clean takes seconds. Washing your hands mid-routine? That’s a time sink you don’t have. Plus, there’s the aesthetic. Foundation applied by hand often looks “caked.” Foundation applied with a brush looks blended. It looks like you woke up like that. Which is the ultimate goal, isn’t it?
Eyeshadow Brush
Now that your base is smooth, we move to the eyes. And no, you cannot use your finger for this. Or can you?
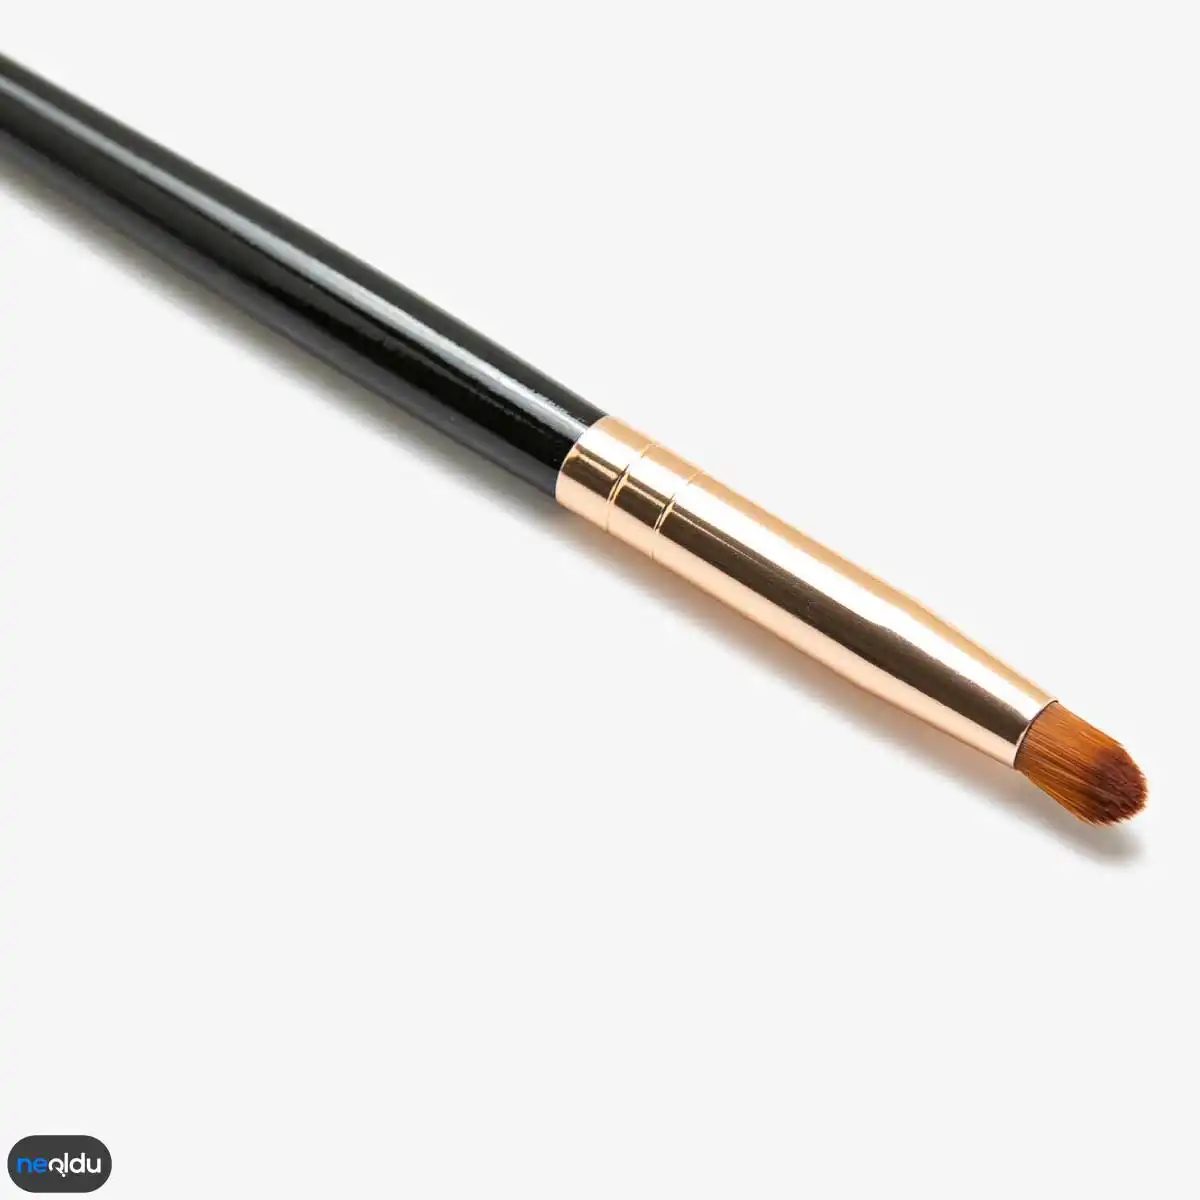
Karıştırma Fırçası
Parmakla sürmek şık dursa da, fırça seçimi işi biraz daha profesyonelleştiriyor. Pigmentler kapakta daha iyi yerini bulur. Ama asıl yıldız bu kısımda.
Karıştırma fırçası demedi demeyin. Bu o küçük, yumuşak başlı aleti kastediyorum. Farı tam anlamıyla eritir. Kenarları yumuşatır. Sert çizgileri siler. Göz makyajında en kritik hamle budur.
Neden önemli? Çünkü tek başına far bir sürü pigment yığınıdır. Karıştırıcı olmadan bu yığın hantal durur. Fırça hareketiyle renkleri birbirine geçirirsin. Geçişler pürüzsüz hale gelir. “Gözümde far var” demek yerine, “Gözlerim doğal” izlenimi yaratırsın.
Hangi fırçayı seçmelisin? Sıkı, kompakt bir baş aramalısın. Çok yumuşaksa farı dağıtır ama yerinde tutmaz. Çok sertse cildi tahriş eder. Orta sertlik idealdir.
Kullanımı basit. Az miktarda far alın. Göz kapağının kıvrımına, yani göz katlanma çizgisine dokunun. Hafif döner hareketler yapın. İleri geri değil. Dairesel. Bu hareket pigmentleri kapak derisine yedirir.
Bir hile daha var. Far sürdüğünüz her tonu bu fırça ile kenarlardan geçirin. Özellikle koyu tonları. Kenarlarda birikme yaparsanız gözleriniz ağır görünür. Karıştırıcı bu yükü hafifletir.
Bazı insanlar sadece bir tane kullanır. Yanlış. En az iki tane olmalı. Biri açık tonlar için. Biri koyu tonlar için. Tek bir fırçayla her şeyi karıştırmak istersen farın rengi bulanır. Kirli bir görüntü oluşur. Temizlik de önemli. Her far arasında fırçayı silin.
Göz makyajında en büyük hata kenarları bırakmaktır. O sert çizgi sizi sert gösterir. Karıştırma fırçası o çizgiyi siler. Gözünüzü büyütür. Yorgun görünmenizi engeller.
Fırça başını temiz tutmak da bu kadar önemli. Kirli fırça farın rengini bozar. Renkler çamura dönüşür. Her kullanımdan sonra temizleyin. Haftada bir derin temizlik yapın.
Sonuçta bu küçük araç makyajın kalitesini belirler. Ucuz fırçalar bile doğru teknikle harika iş çıkarır. Pahalıya ihtiyacınız yok. Doğru formül basit: az miktarda ürün, dairesel hareket ve sabır.
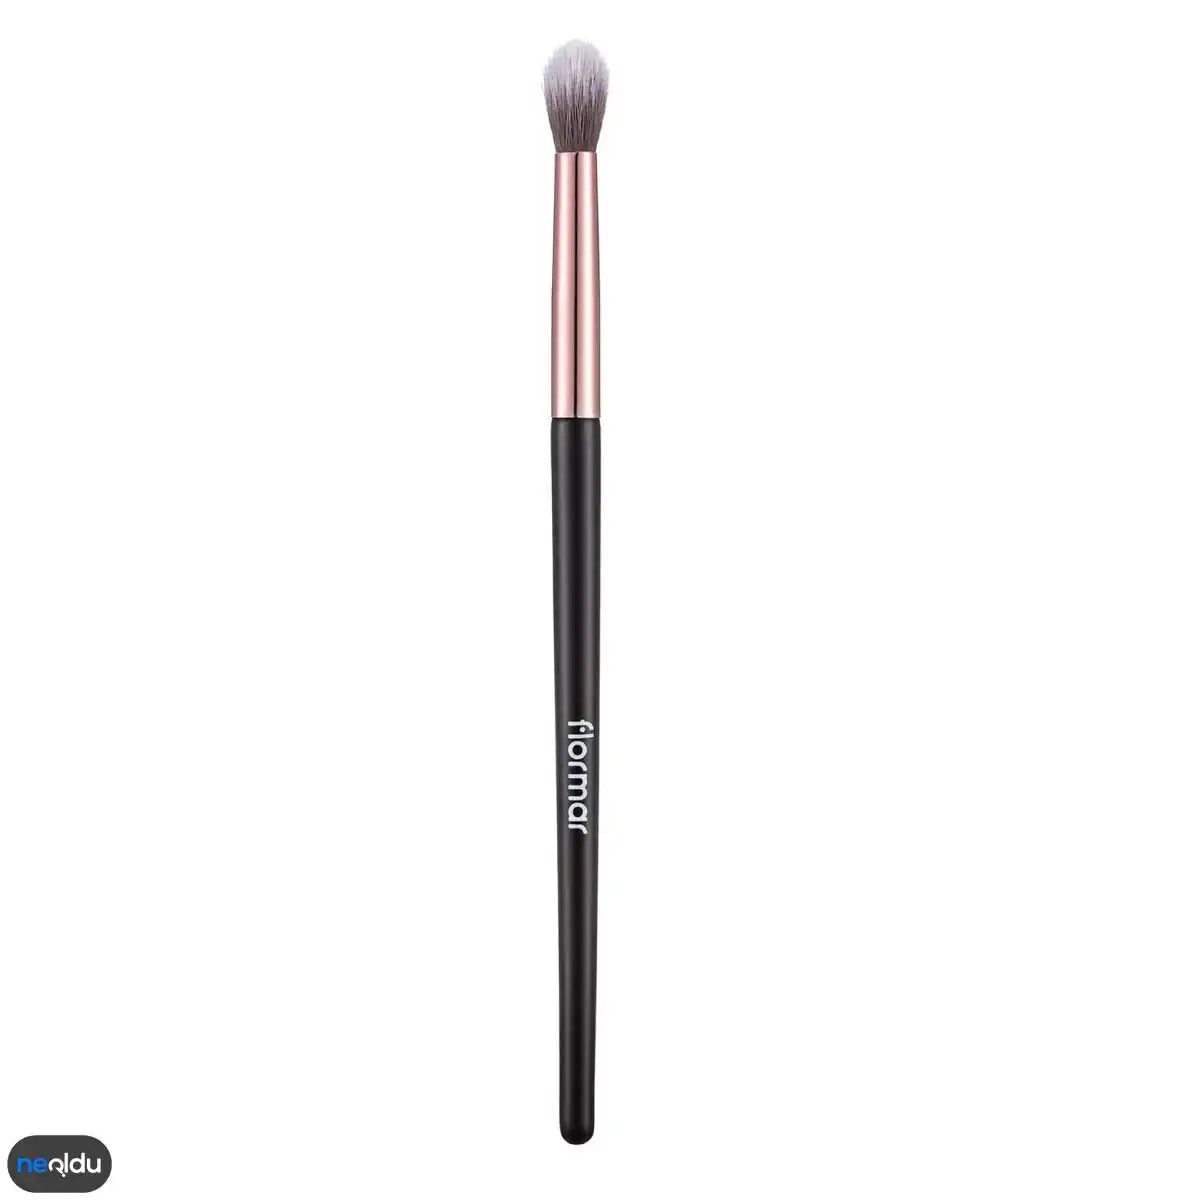
Allık ve Kontür Fırçası
Bu fırçaya ihtiyacınız var. Gerçekten.
Pigmentleri dağıtmak ve iç içe geçmelerini sağlamak için vazgeçilmez bir araç. Herkes bir tane alsın lütfen. Renkleri çok daha güzel yayıyor.
Allık ve kontür için idealdir. Yanaklarınıza doğal bir ışıltı katmak ister misiniz? Ya da yüzünüze derinlik kazandırmak mı istiyorsunuz? İki amaç için de aynı fırçayı kullanabilirsiniz.
Fırçanın şekli önemli. Dairesel hareketlerle allığı yerleştirirken, hafif sürükleme hareketleriyle konturu tanımlarsınız.
Neden bu kadar önemli?
Çünkü elinizdeki pudra, krem veya sıvı ürünün performansını doğrudan etkiler. Fırça ne kadar iyi ise, sonuç o kadar doğal görünür.
Kullanım İpucu:
Ürünü fırçaya az miktarda alın. Fazlasını silke. Sonra yüzünüze uygulayın. Az ama öz.
Bu küçük detay, makyajınızın kalitesini değiştirir.
Fırçanızı temiz tutun. Kirli fırça, kirli sonuç demektir. Haftada bir temizlemek yeterli.
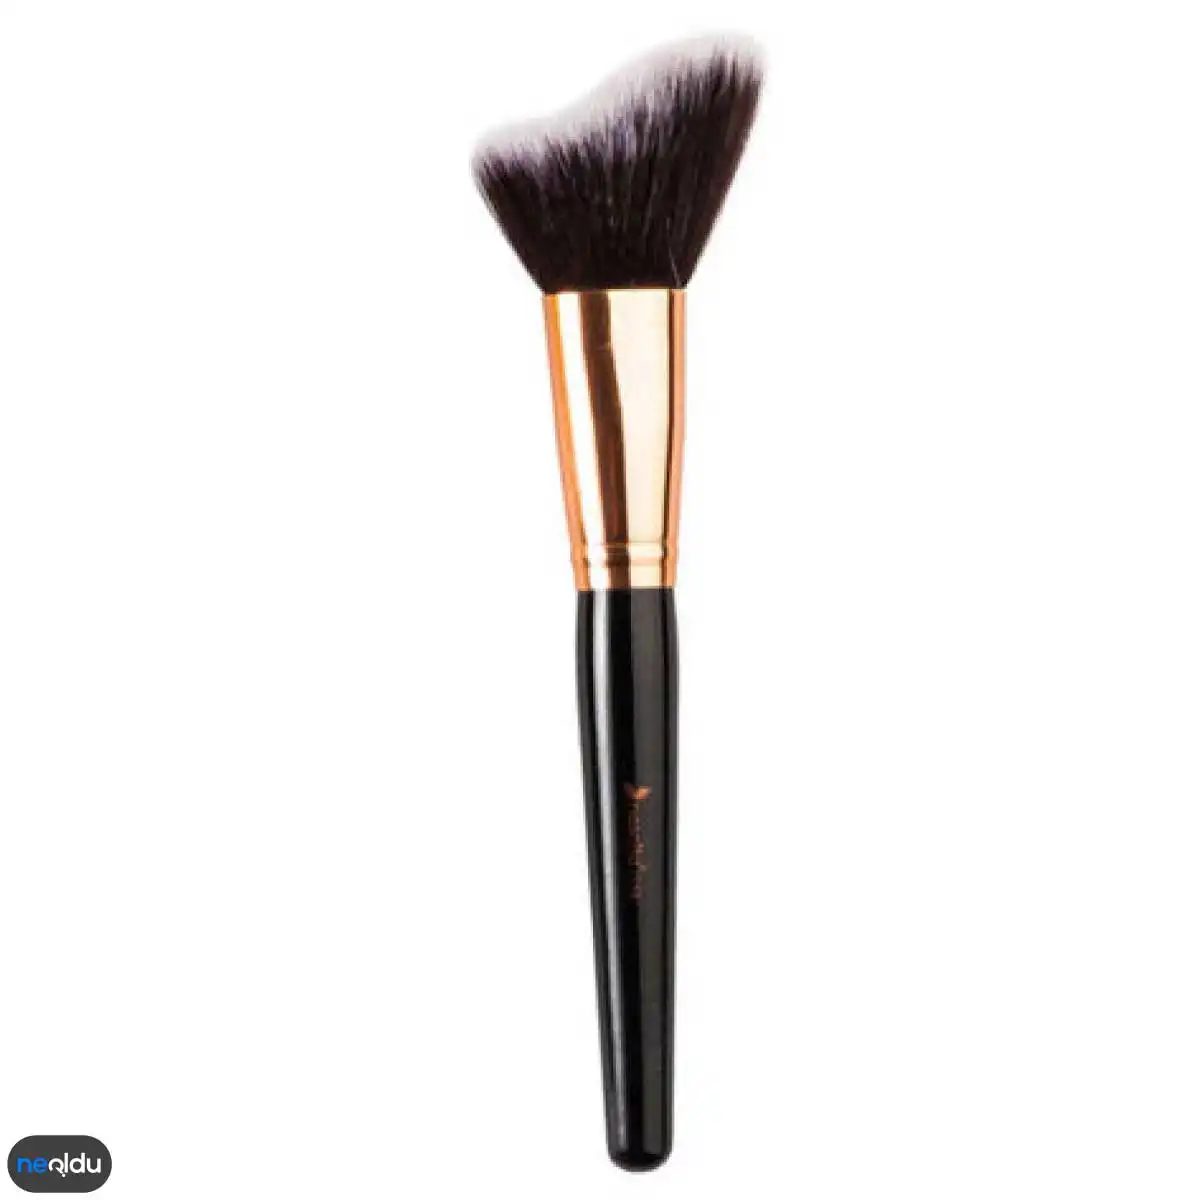
Tek fırça. İki iş. Bunu dinle.
Sabah olduğu gibi akşam da aceleliyorsan, bu numarayı biliyor olman hayat kurtarıcı. Yatsı öncesi rutininde, hem aydınlatıcını hem de allığını aynı araçla uygulayabilirsin. Evet, doğru okudun. Tek bir fırça, iki farklı ürünün görevini üstlenir.
Sonuç ne olur? Yüzüne doğal bir renk katarsın. Hem de kontürü rahatça şekillendirirsin. Karmaşık bir ritüel kurmana gerek yok.
Pudra Fırçası
Pudra fırçası denince aklına sadece matlaştırma gelsin diye düşünüyorum. Yanılıyorsun. Bu büyük, tüylü dostun aslında daha fazlası.
Özellikle toz allıklar ve aydınlatıcılarda işini kolaylaştırır. Büyük yüzey alanı, ürünün homojen dağılmasını sağlar. Püskürtme yapmaz. Dağıtır.
Nasıl kullanılır sorusu çok basit. Toz allığı fırçanın üzerine al. Fazlasını silke. Yüzüne hafif dokunarak dağıt. İster yanaklara, ister burun köprüsüne. İster de göz kapağına. Pudra fırçasının geniş başlığı, tüm bu bölgelerde kolaylık sağlar.
Ayna karşısına geçtiğinde tek bir aletle bütünlük yakalarsın. Çantanda yer kaplamaz. Doğru tercih olur.
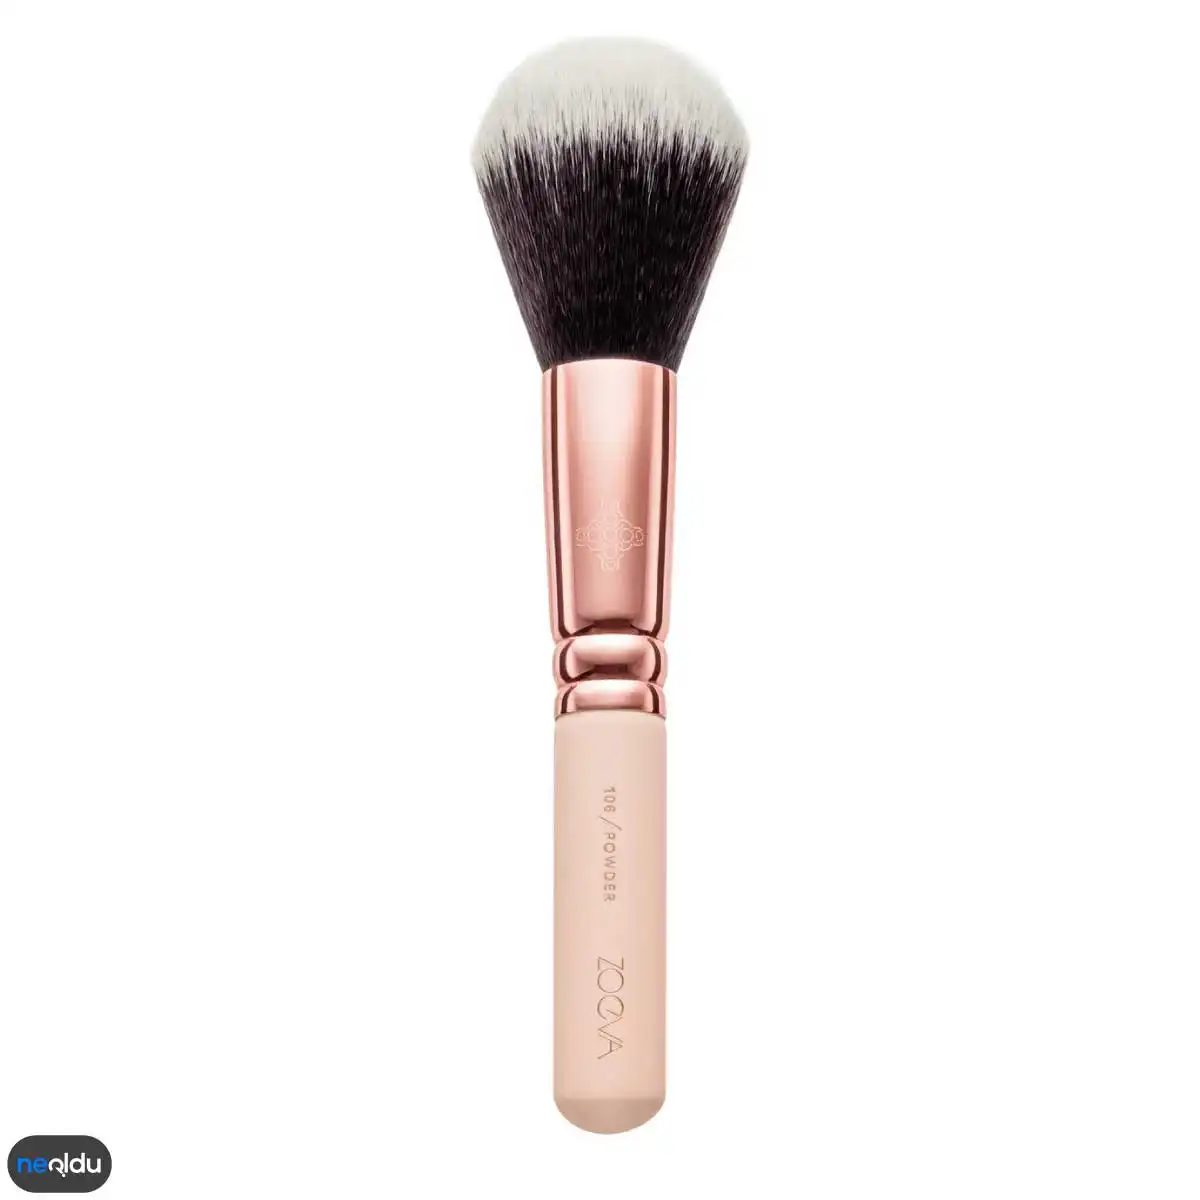
Fixing Foundation Without the Cake
Grab a fluffy brush. You need one. That’s the secret to locking in your latest foundation without turning your face into a mask. It sets the makeup. It spreads the powder evenly. It stops everything from looking like it’s sitting on top of your skin.
İLGİNİZİ ÇEKEBİLİR
– En İyi Makyaj Fırçaları
– Allık Ürünleri
– Far Fırçası Tavsiyeleri
– En Kaliteli Maskara
The Weekly Brush Hygiene Rule
How often should you scrub your brushes? Once a week is the baseline. If you’re wearing makeup daily, that number should go up. Dirty brushes are just a playground for bacteria.
Pre-Wash Prep: Wet or Dry?
Do you soak them before cleaning? Yes. Warm water is your friend here. It loosens the grime. It protects natural bristles and synthetic fibers alike. Skip the cold shock. Let the water do the heavy lifting before you even touch a cleanser.
What Actually Cleans Your Tools?
You don’t need fancy, expensive solutions.
– Baby shampoo works.
– Dedicated brush cleaners are great.
– Olive oil helps break down oils.
– Vinegar has antibacterial properties.
Pick what you have in your cabinet. They all work.
Drying and Shaping
After washing, grab a towel. Microfiber or paper towels work. Squeeze out the excess water. Gently reshape the bristles with your fingers. This is important. You’re telling the brush what shape to take back into. Hang them or lay them flat? Keep them upright if you can, but definitely avoid a damp, closed drawer. Moisture breeds mold.
Storage Matters
Where do they live when not in use? A dry, clean spot. Use brush holders, cups, or cases. But keep them away from humidity. A steamy bathroom might be convenient, but it’s terrible for longevity.
To Wash or Not to Wash?
Do you need to let them sit before cleaning? No. Just wipe them down with a clean paper towel after every use if you’re in a rush. It prevents buildup. You don’t need to deep clean every single night, but you can’t ignore them either.
Water Alone Isn’t Enough
Can you just rinse with water? Technically yes. Practically? No. Water alone won’t remove oils and pigments effectively. You need a surfactant. A soap. A cleanser. Anything that breaks down the residue. Don’t just rinse. Clean.